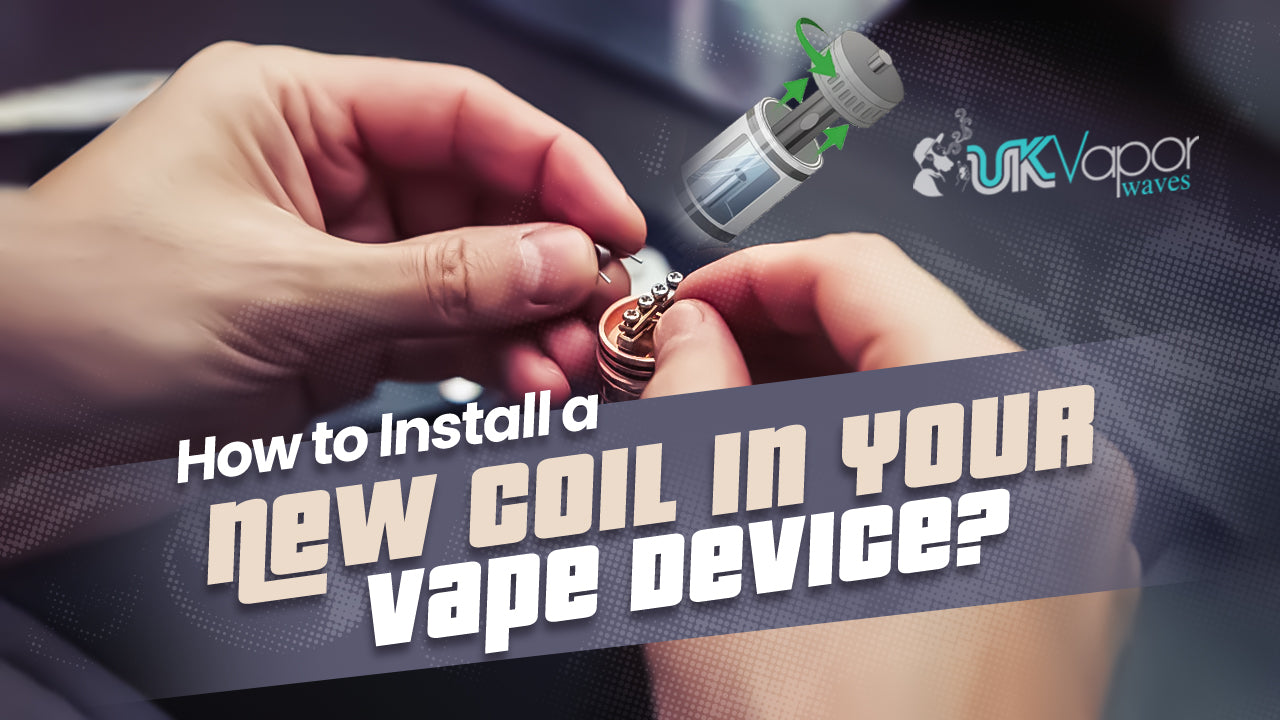
How to Install a New Coil in Your Vape Device?
Changing the coil in your vape device is a routine part of maintenance that ensures your vape works efficiently and delivers the best flavor. While it may seem complicated at first, installing a new coil is actually quite easy. In this blog, we’ll provide a step-by-step list of how to install a new coil in your vape device.
1. Turn Off Your Vape Device
Before doing anything, make sure your vape is turned off. This prevents any accidental firing while you’re working with the device.
2. Remove the Tank
Next, unscrew the tank from the battery or mod part of your vape device. Most tanks screw off easily by turning them counterclockwise.
3. Disassemble the Tank
Once you’ve removed the tank, carefully take it apart. Most tanks can be separated into a few main pieces: the base, the glass section, and the top. Unscrew the base of the tank to access the coil.
4. Remove the Old Coil
The coil is usually located at the bottom of the tank. To remove it, simply unscrew it from the base by turning it counterclockwise.
5. Dispose of the Old Coil
Coils are disposable parts, so once you remove the old coil, you can throw it away. Be sure to dispose of it properly—some areas have recycling options for vape parts.
6. Prime the New Coil
Before installing the new coil, it’s important to prime it. Priming helps the coil soak up the e-liquid faster and prevents dry hits. To prime the coil:
- Place a few drops of e-liquid on the exposed cotton of the new coil.
- Let the e-liquid soak into the cotton for a minute or two before installing the coil.
7. Install the New Coil
Once the coil is primed, screw it into the base of the tank by turning it clockwise. Make sure it’s snug, but don’t overtighten it. A tight but not forced fit prevents leaks.
8. Reassemble the Tank
After the new coil is installed, reassemble the tank by screwing the glass and top section back together. Ensure everything is tightly secured to prevent e-liquid leaks.
9. Fill the Tank with E-Liquid
Now, fill the tank with your favorite e-liquid. Make sure you don’t overfill the tank, as this can cause leaks. Leave a little space at the top to allow for e-liquid expansion.
10. Let the Coil Soak
Once the tank is filled, let the vape sit for a few minutes. This allows the new coil to fully soak in the e-liquid, ensuring that you don’t get a burnt taste when you first use it.
11. Test Your Vape
Now that your new coil is installed and primed, it’s time to test your vape. Take a few slow puffs to check the flavor and vapor production. If everything tastes good and there’s no burnt flavor, your new coil is ready to use!
Conclusion
Installing a new coil in your vape device is a simple and essential process to maintain the performance and flavor of your vape. By carefully following the steps, such as turning off your device, properly priming the coil, and allowing it to soak, you can ensure a smooth and efficient setup. Regularly changing the coil not only helps avoid issues like burnt hits or leaks but also extends the life of your device. With practice, replacing a coil becomes second nature, and doing so will ensure you always enjoy the best flavor and vapor production.
